1 控制物体移动

前面我们创建了物体,为了让物体移动起来。我们可以设置它的position属性进行位置的设置。
相机和立方体都是物体。每个物体都是1个对象。
在官方文档里,我们可以看到相机camera和物体mesh都继承Object3D类。所以camera、mesh都属于3d对象。从3d对象的官方文档里,我们可以找到position属性,并且该属性一个vector3对象。因此通过官方vector3类的文档,我们可以简单使用下面2种方式来修改position位置,当然后面还会讲解更多的方式。
//设置该向量的x、y 和 z 分量。
mesh.position.set(x,y,z);
//直接设置position的x,y,z属性
mesh.position.x = x;
mesh.position.y = y;
mesh.position.z = z;
官方文档:https://threejs.org/docs/index.html?q=vect#api/zh/math/Vector3


1.1 每一帧修改一点位置形成动画
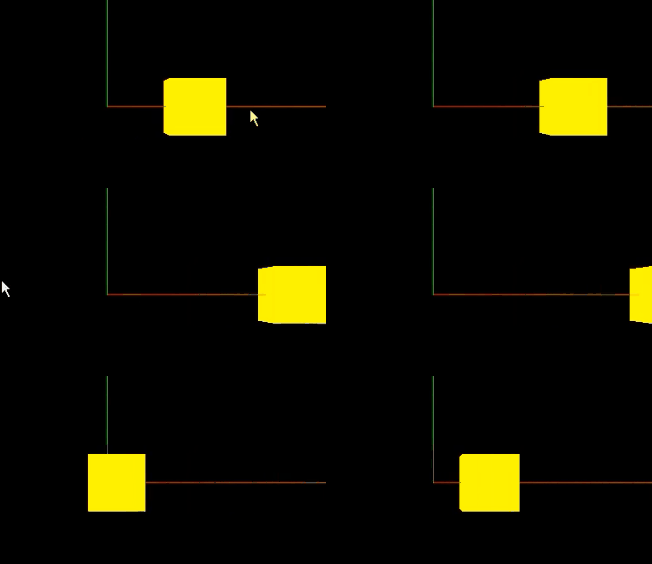
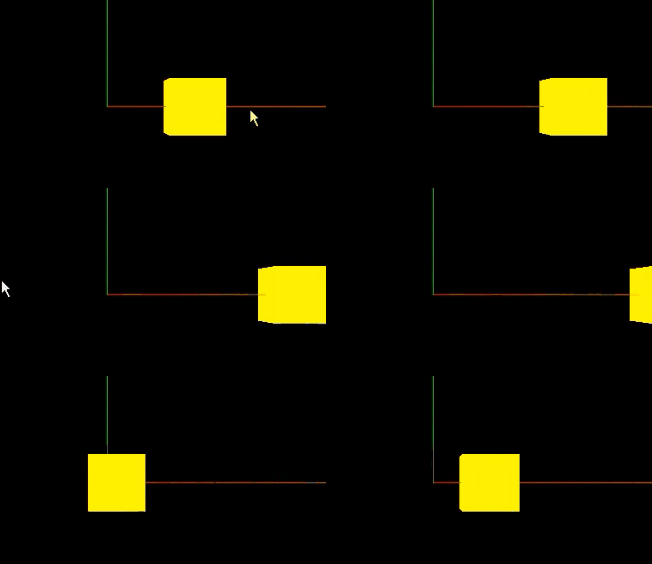
例如,每一帧让立方体向右移动0.01,并且当位置大于5时,从0开始。那么可以这么设置。
function render() {
  cube.position.x += 0.01;
  if (cube.position.x > 5) {
    cube.position.x = 0;
  }
  renderer.render(scene, camera);
  //   渲染下一帧的时候就会调用render函数
  requestAnimationFrame(render);
}

render();
2 综合上述代码
1、在前面创建的项目中的main.js文件写入代码
import * as THREE from "three";
// 导入轨道控制器
import { OrbitControls } from "three/examples/jsm/controls/OrbitControls";

// console.log(THREE);

// 目标:控制3d物体移动

// 1、创建场景
const scene = new THREE.Scene();

// 2、创建相机
const camera = new THREE.PerspectiveCamera(
  75,
  window.innerWidth / window.innerHeight,
  0.1,
  1000
);

// 设置相机位置
camera.position.set(0, 0, 10);
scene.add(camera);

// 添加物体
// 创建几何体
const cubeGeometry = new THREE.BoxGeometry(1, 1, 1);
const cubeMaterial = new THREE.MeshBasicMaterial({ color: 0xffff00 });
// 根据几何体和材质创建物体
const cube = new THREE.Mesh(cubeGeometry, cubeMaterial);

// 修改物体的位置
// cube.position.set(5, 0, 0);
cube.position.x = 3;

// 将几何体添加到场景中
scene.add(cube);

console.log(cube);

// 初始化渲染器
const renderer = new THREE.WebGLRenderer();
// 设置渲染的尺寸大小
renderer.setSize(window.innerWidth, window.innerHeight);
// console.log(renderer);
// 将webgl渲染的canvas内容添加到body
document.body.appendChild(renderer.domElement);

// // 使用渲染器,通过相机将场景渲染进来
// renderer.render(scene, camera);

// 创建轨道控制器
const controls = new OrbitControls(camera, renderer.domElement);

// 添加坐标轴辅助器
const axesHelper = new THREE.AxesHelper(5);
scene.add(axesHelper);

function render() {
  cube.position.x += 0.01;
  if (cube.position.x > 5) {
    cube.position.x = 0;
  }
  renderer.render(scene, camera);
  //   渲染下一帧的时候就会调用render函数
  requestAnimationFrame(render);
}

render();
效果演示:

